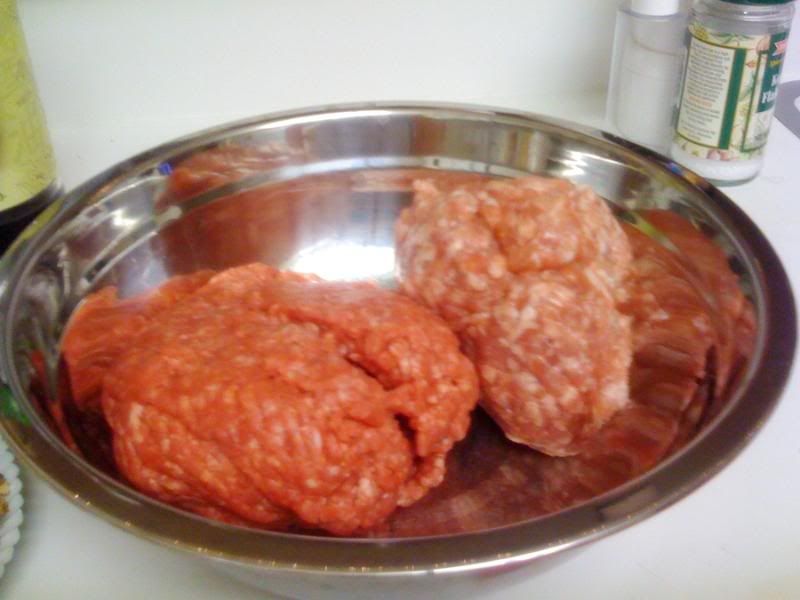
Beef & Broccoli
Thursday, January 22, 2009 | Author: A Vegetarian that Cooks Meat
Ok, as per request by my friend, James (who apparently doesn't want to call for take-out), here is your Beef & Broccoli. I'll just get straight to the point.

Ingredients:
1/2 lb beef
1 cup broccoli
2 tbs of corn/tapioca starch
chopped garlic
1 tablespoon rice wine*
1/4 cup soy sauce*
2 teaspoons sugar*
1/4 cup water*
1/4 teaspoon sesame oil*
some white pepper
1/4 tsp MSG (if you MUST have it... and knowing you, probably)
2 tsp of corn starch mixed with 1 tbs cold water (to thicken the sauce)


Directions:
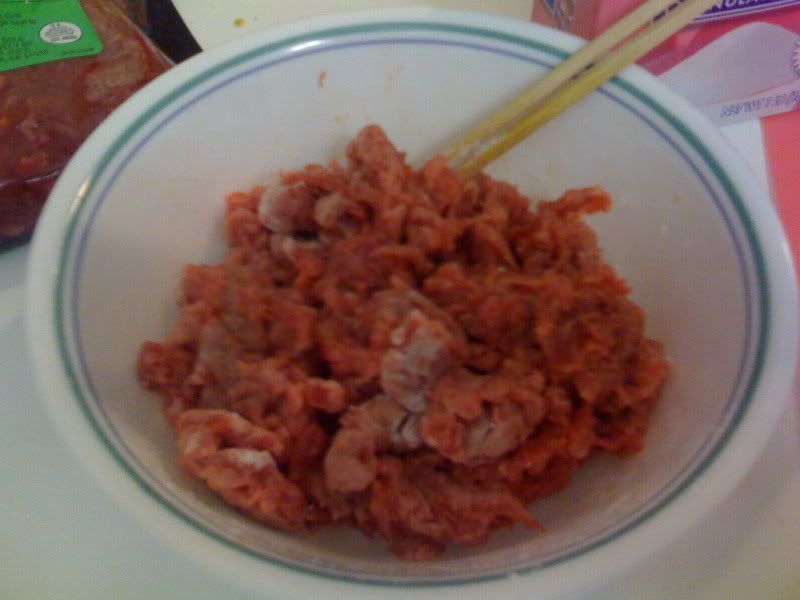
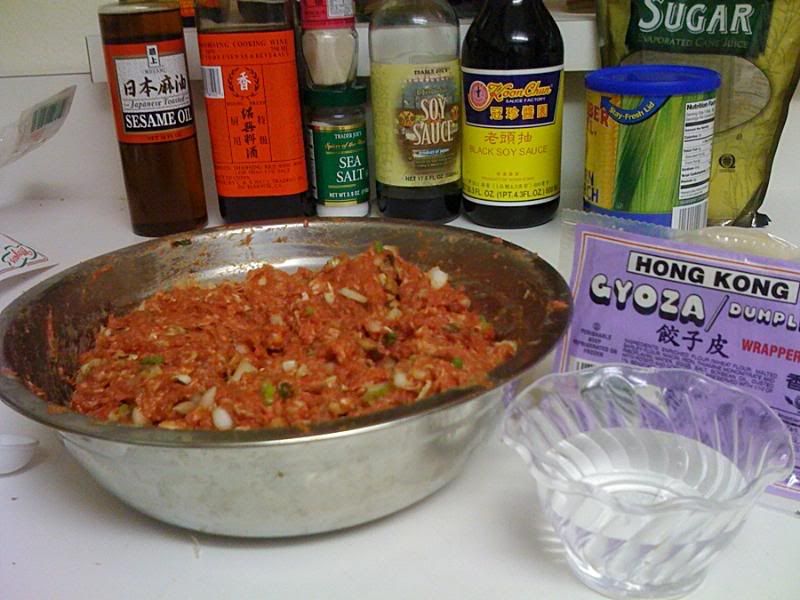
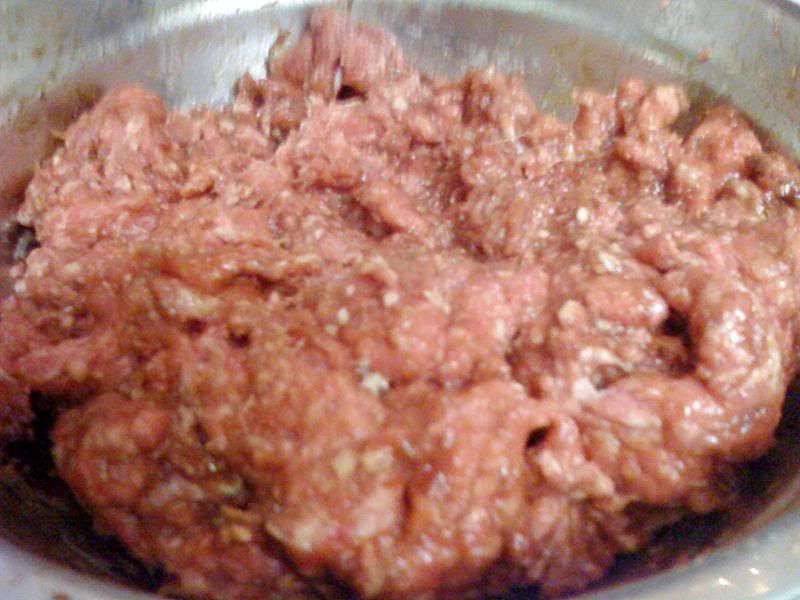
1) In a bowl, mix the meat and 2 tbs of corn starch:


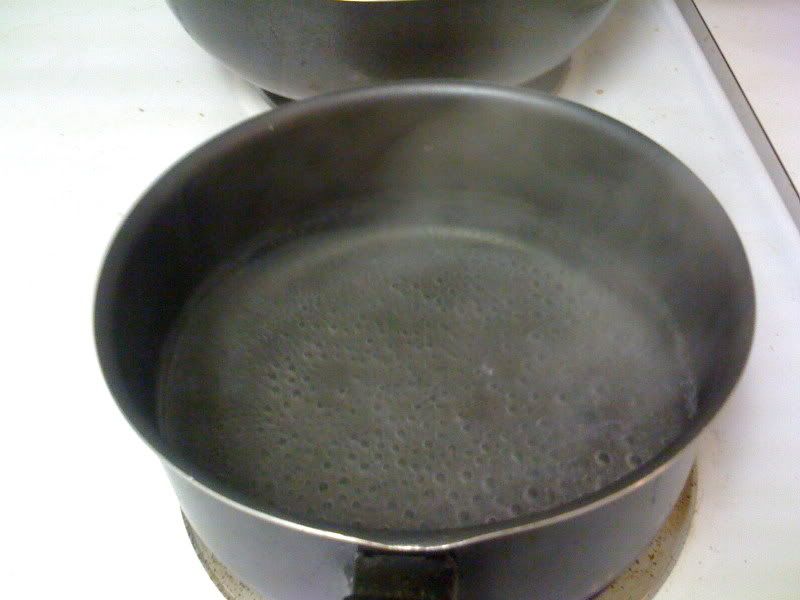
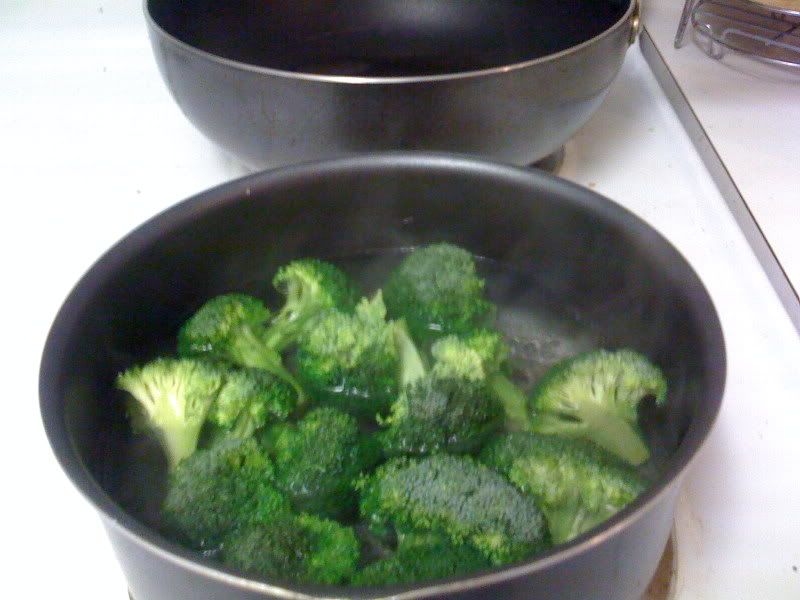
2) In a pot, boil some water. Once the water is boiled, throw in the broccoli. Swirl around for 20 seconds and quickly remove the broccoli from the pot and run under cold water for about 30 seconds. You want the broccoli crunchy, not all wilted and soggy by the end of all this.


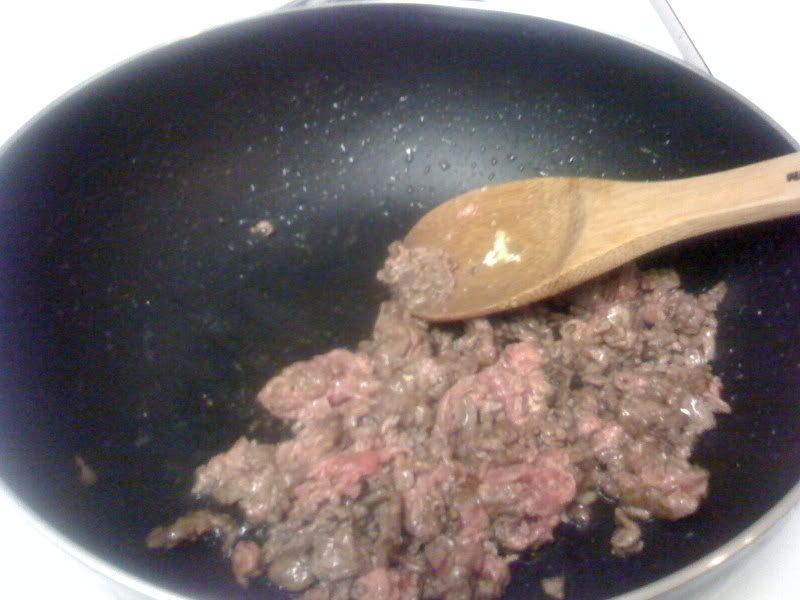
3) Add 2 tbs of oil (if you want it as oily as the the take-out places near home, then throw in an additional 2 tbs) to your wok/frying pan. Under high heat, start stir-frying the beef until it is no longer pink. Remove the cooked meat from the wok and set aside on a plate.


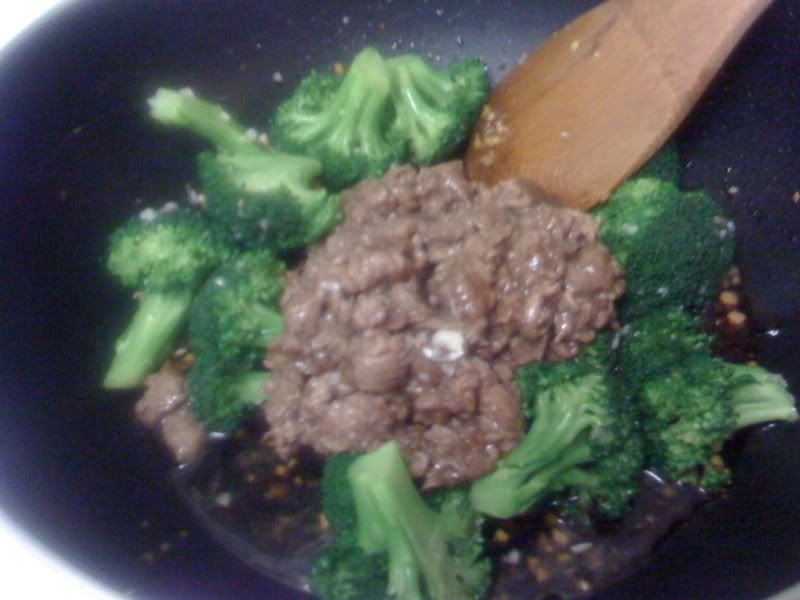
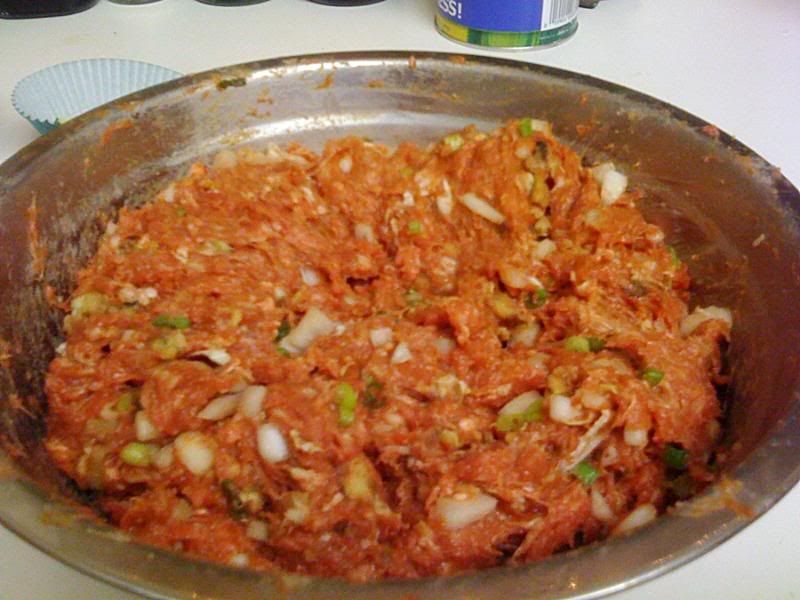
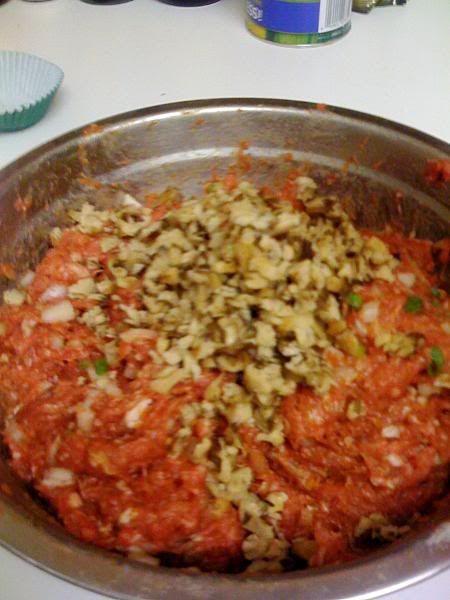
5) Add all the ingredients with the asterisks (*) together in a bowl. Now, in the same wok (under medium-high heat) that you cooked the beef in, add the garlic and stir fry for about 10 seconds or so. Then pour in the (*) mixture you just combined and let it cook for about a minute.


6) Now add the beef and broccoli back into the wok and stir-fry for another minute. Now is the time to add the MSG, if you should decide to.


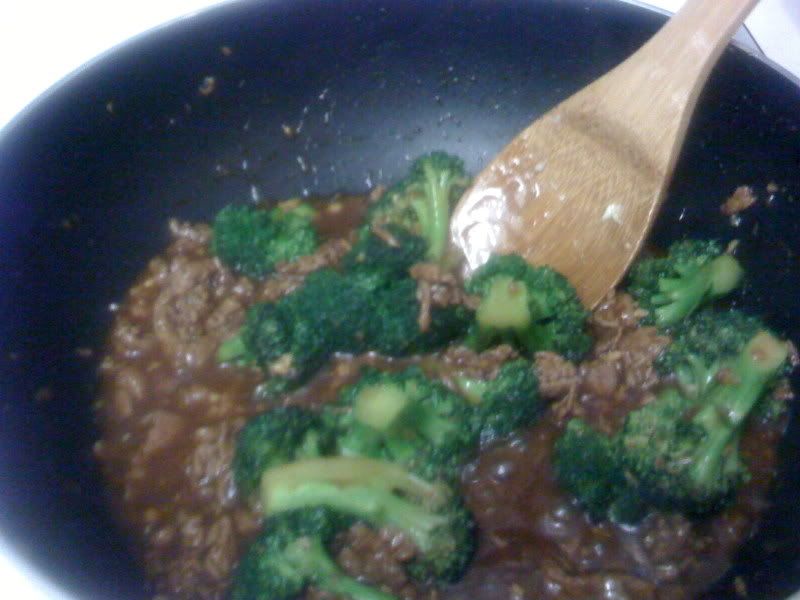
7) To thicken the sauce, pour in the cornstarch mixture ( 2 tsp of cornstarch + 1 tbs cold water).
Stir around until the sauce thickens (sorry, had a hard time taking a picture of that while stirring). Dish it out on a plate and eat! Don't forget your rice!


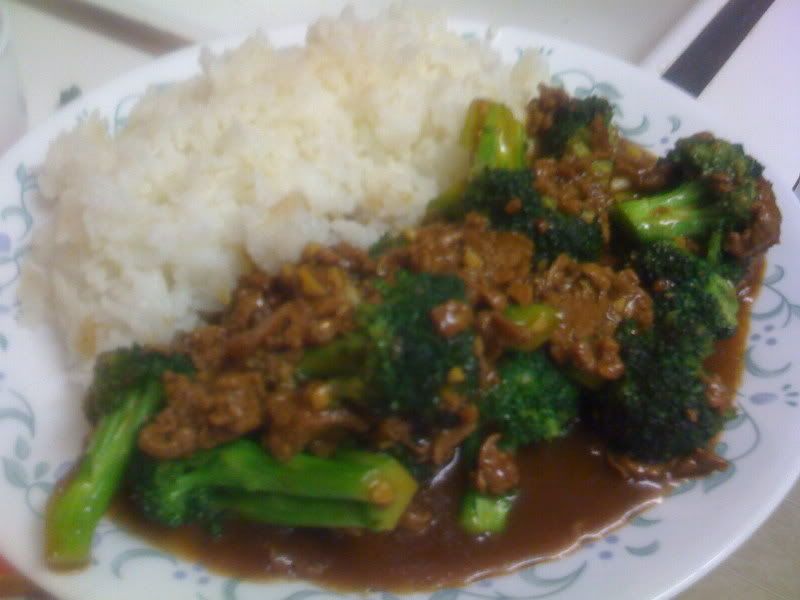
Hopefully, the pictures help!
Braised Short Ribs
Sunday, January 18, 2009 | Author: A Vegetarian that Cooks Meat
So I haven't been blogging much, due to the new school semester. It's pretty craazy and I'm just so darn tired! I haven't been neglecting my cooking though... I tried a couple of steamed cakes but that went south, completely... utter failure! Let's not mention of it again...

I wasn't planning on posting this recipe up. It was a spur-of-the-moment thing, so I did not take pictures of everything, step-by-step... I know.... I'm sorry, and I regret it! At least I snapped a couple of pictures of the end product. That's not so bad, right?

This recipe serves 2 hungry people, I would say.


Ingredients

· 2 pounds of short ribs (beef)

· 1 ½ cup of beef broth

· 1 cup dry red wine

· 2 tbs vegetable oil

· 1 tsp salt

· 1 tsp Steak Seasoning

· 3 tbs all purpose flour

· ¼ cup celery, chopped in big pieces

· ½ cup of Yukon potatoes, quartered.

· ¼ cup parsnips, coarsely chopped

· ¼ carrots, coarsely chopped

· ¼ onions, cut into wedges

· 1 leek, sliced diagonally

· 2 sprigs of thyme

· A handful of parsley, coarsely chopped

· Extra salt & pepper to taste

Directions:

1) Preheat the oven to 300°F.

2) In a zip-lock bag, combine the flour, salt, and steak seasoning and shake until it gets evenly distributed.

3) Add the short ribs into the zip-lock bag and, once again, shake it like it’s hot!… or until the ribs are dredged in the flour mixture.

4) In a large pot, heat the oil on medium-high heat, and brown ALL sides of the short ribs. If your pot is not large enough, do this in 2 batches. You don’t want the ribs all cluttered up in the pot. Once this is down, remove the ribs and set aside.

5) Remove some of the fat in the pot , leaving about 1 tablespoon. Add the leeks and onions and sauté for about a minute. Now add the parley and thyme for 30 seconds, stirring.

6) Add remaining vegetables and sauté for a minute.

7) Now, deglaze the pan by adding the beef broth and red wine. Be sure to scrape the brown bits on the bottom of the pan left off by the flour and ribs from before.

8) Bring the pot to a boil and let the liquid reduce a bit. This will take about 10 minutes or so.

9) Placed the shorts ribs, bone up, in a roasting pan. Pour the contents of the pot (the beef broth & wine mixture) over the short ribs. Cover with aluminum foil and pop it in the oven for 3 hours. The beef should come out very tender (almost falling off the bone!!!).
Best served with rice or egg noodles

Overstuffed Dumplings
Monday, January 05, 2009 | Author: A Vegetarian that Cooks Meat
I think out of everything I've made, the most enjoyable have always been dumplings... mainly because I can make them however I want and they never turn out bad! The wrapping is fun, too!


Most of the complaints I get from dumplings from my friends boils down to one problem, really; too little filling .

I tend to REALLY stuff my dumplings. They look much cuter and palatable that way. This recipe makes about 50 dumplings. I didn't have time to make my own dumpling wrapper this time, but will do so next time. I saw these green vegetable dumpling skins the other day at a nearby Asian supermarket (in NYC) and I'm just dying to make my own version!


Ingredients

Group A:

1 pound ground beef

½ pound ground pork

1 egg

Group B:

1 ½ cups Napa cabbage diced

¼ cup green onions, finely chopped

⅓ cup shitake mushrooms, finely chopped

¼ cup onions, diced

1 ½ tbs minced ginger

Group C:

2 tbs light soy sauce

1 tbs dark soy sauce

1 tsp Shaoxing wine or other Chinese rice wine

1 ½ tsp sugar

½ tsp corn or tapioca starch

1 tsp sesame oil

¼ tsp pepper

Extra Salt & Pepper to taste

50 dumpling wrappers and a bowl of water

Directions:

1) Use your hands to mix the ingredients in Group A together in a large bowl

2) Mix all the ingredients in Group C together in a small bowl and pour it on top of the meat mixture in the large bowl and let it sit for 10 minutes. **Most people usually add the ingredients in Group C to the meat one by one, but I find that hard to distribute all the ingredients evenly into the meat.

3) Now using your hands, mix Group A and B together. You may find the mixture very watery now, but once all ingredients are incorporated, you will barely see any liquid.

4) One by one, slowly mix in the ingredients in Group B.

5) Add extra salt and pepper to your liking.

6) To wrap the dumplings, place a wrapper in palm of one hand. Place a heaping tablespoonful of the meat mixture onto the center of the dumpling wrapper.

7) Using your fingertip, wet the outer edge of the dumpling wrapper with water. Fold up the sides of the dumpling into a half-moon shape and firmly press it together… or you can pleat it to make it prettier!

8) Line the up the completed dumplings on a cookie sheet and pop it in the freezer for 15 minutes. Then you can throw them all in a zip-lock freezer bag and store them for later use (up to one month!). No need to thaw them when you’re ready to cook.